

Tag: Blanket Page 1 of 3
There’s another baby shower coming up at work. Last time, I was caught flat footed and ended up putting in cash as a solution.
This time, I decided to whip up a quick and easy baby blanket. I had planned to just slap 2 pieces of fabric together and stitch around. But thankfully, Denise, tipped me off to the self binding receiving blanket instructions from Sew Much Ado. It is a quick, easy, and fun project that looked a whole lot more polished!
And in case you are a visual person, here’s a YouTube video for the same project.
It wasn’t quite the 30 minute project, nor even 60 minutes. It’s possible that I obsessed a bit more than necessary about cutting the squares, measuring and trimming thrice. But while I was at it, I made a spare, just in case. And of course I chose the one imperfect miter for the photo shoot. I didn’t notice it until just now.
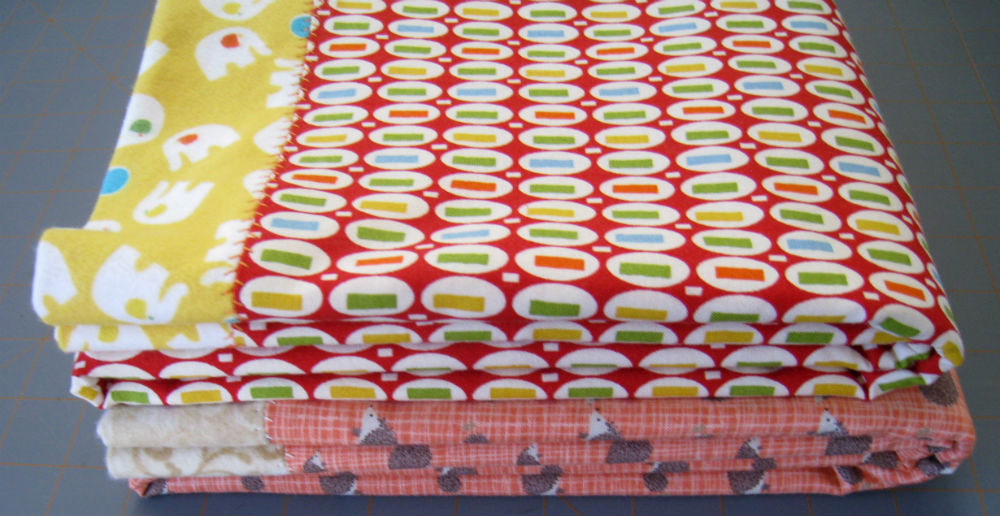
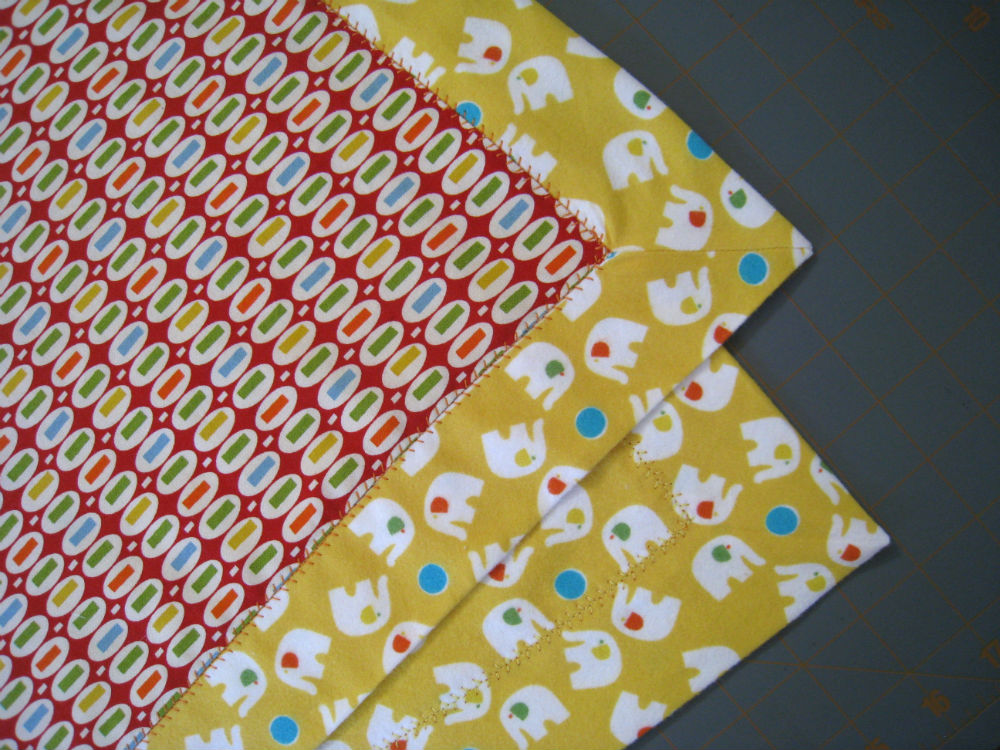
I used quilting cotton for the top (center piece) and a heavy cotton flannel for the backing (and binding). I finished off the blanket with one of the fancy stitches (baseball stitch) on my sewing machine by stitching into the ditch. (Click on the top image for details of the stitch.)

I made an envelope for one of the blankets with the scraps. This will be in lieu of gift wrapping. I hate single use gift wrap paper that ends up in the landfill. The new parents can either use this as a carry case or use it for something else.
MItered Non-Cross Blanket
This was a part time project that took over 18 months to do. I mostly worked on it at night just before bed. In November, I pushed through the last bit to finish it. It coincided with the cold weather. Imagine that.
- Pattern: variation of the Mitered Cross for Mercy Corp
- Yarn:Â Noro Silk Garden Socks
- Needles: US #4 (3.5 mm)
Modifications / Notes
- I didn’t make crosses. I did change colors occasionally when I felt like it. Without the crosses I had over 250 ends to weave in. I can’t imagine what it would be like with the crosses!
- I stacked the blocks instead of staggering them.
- I worked a single round of slip stitch crochet around the entire block before I started the attached i-cord border. I used the instructions from The Purl Bee. That one yarn over is well worth the extra work. It prevented the line of the background border color from showing through. The yo is easier to pick up and slip by picking up the yo from behind the right hand needle.
The project hit a tedium about 9 months ago and I didn’t touch it for months. But now that it’s done, I have withdrawals. It is a nice mindless project that is portable enough to take to meetings. I’m already thinking about making another one.