Here’s a dirty little secret. I have been obsessed with weaving with energized singles.
My first taste of it was my Collapse class with Anne Field and my experiments with pleats after that. Then there were the various classes and workshops with Kathryn Alexander. But have I done anything with it? Other than experiments as weft in my pleated scarves, no.
That is, until now.
I had purchased some hand painted BFL/Silk from Fiber Optics at SOAR. As I was spinning the fiber, I thought that it would be fabulous as an open weave shawl. Then I thought back to the energized singles weaving projects that has been simmering in the background.
I pulled out some undyed 75% Black BFL / 25% Tussah Silk from Ashland Bay, purchased from SOAR (2009?). I chose this fiber mix for a couple of reasons. First, it is similar to the Fiber Optics blend. More importantly, this blend produces a yarn with a crispness that I like for a singles project.
I spun the fiber into S and Z singles at about 55 wpi with 20% angle of twist. This is not a huge amount of twist. I believe Kathryn puts a lot more twist angle into her woven projects. I’ll have to go back and check my notes.
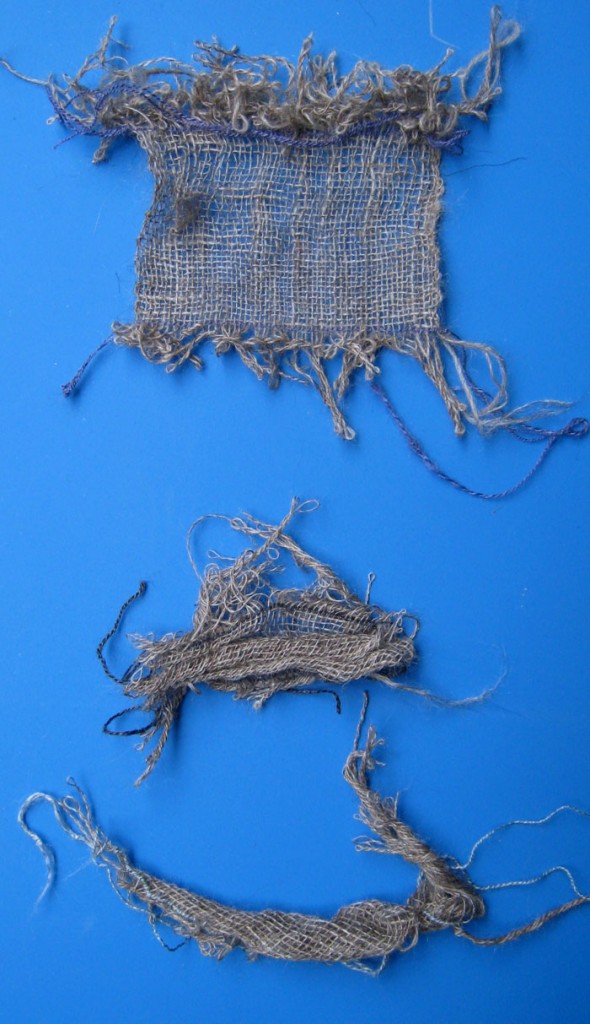
In the photo at top right, from top to bottom:
- Alternating S & Z in both warp and weft (top). As you can see, it resulted in a very stable fabric. This was the first one I wove and it’s been sitting there and handled for about 10 days without much distortion. It would appear that the opposite forces kept the fabric under control.
- Z in warp, S in weft (center). As soon as I took it off the frame, the sample pleated up horizontally. I don’t know if this is because the twining along the top & bottom prevented it from pleating vertically. Or if I swapped the Z & S warp for weft, or…
- Z in both warp & weft (bottom). This just curled up like a leaf along the diagonal. Yes, in the S direction. Obviously trying to balance itself.
How I wove these:
- I used my Hockett Would Work Hand Looms for sampling.
- The yarn is “fresh” off the bobbin. They’ve been sitting on the bobbin for 10-14 days now, so fresh is relative. They are unwashed and unsized.
- The samples were all warped at 16 epi (2 per dent) and woven with approximately the same ppi.
- They were approximately 4″x4″ on the loom (10cm x 10cm).
- I twined the top & bottom edges. This was tedious work for the alternating S & Z (top) sample because I need make sure I picked up the S & Z in the correct sequence. It’s kind of hard when they are the same color and working at night by the light of a reading lamp.
- These are all straight off the loom, unwashed samples.
I had not planned on making two sets of these. I had planned to just finish these in hot water and see what will happen. After the second sample, I quickly came to the conclusion that this is not to be. I need to weave off a second set and preserve the before and after samples.
The other thing that I realized is that I have more questions that need to be answered, which translates into more samples:
- Is it the twining that is preventing sample #2 from pleating lengthwise? Or is it the choice of Z in warp and S in weft? Will that alter if I swapped them? I cannot not twine because I need the twining to set the spacing and “finish” off the edges so the wefts stay put. Perhaps I can hem stitch for a more flexible edge.
- Will the third sample curl in the opposite direction if I only used S spun singles in both warp & weft?
Stay tuned.


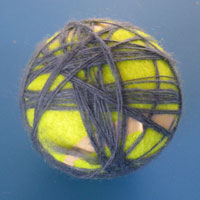
 Here’s my bit of fluff, ready to ply.