Random thoughts of a fiber enthusiast - mostly fiber related, sometimes coherent

Month: April 2007

CNCH Pictures

Mohair Boucle SamplerCNCH was great. I took Spinning for Weaving from Judith MacKenzie-McCuin. We spent a day talking about what the characteristics of warp and weft yarns. We did a little spinning.

One of the things that we did was to play with mohair boucle. I’ve tried to make mohair boucle in the past, but have never been very satisfied with any of my end products. This time, I really exaggerated the boucle effect. It’s a bit much, but I like it. I will have to try again and tone it down just a smidge.

So, just how do you make mohair boucle? Take a core yarn, be it a single or a commercial yarn. I used a bit of left spun single (S twist), and then fed it back into the spinning wheel while “plucking” the mohair that is held in my left hand (same side as the twist in the core yarn) with my right hand, which was also controlling the core.

You can also use commercial yarn for your core. Just be sure that you spin the mohair in the same direction as the last twist in the core yarn. If it was a right twist yarn, spin to the right, use your right hand to hold the mohair, and pluck with your left hand that’s also controlling the core yarn.

Now, take the mohair “yarn” (It’s not yarn yet! It’s very unbalanced at this point), and ply it with another left twist single or yarn (S twist again). I used a commercial 60/2 silk. I hold the silk in one hand, and the mohair with the other at a 90 degree angle to the silk as I feed them both into the orifice. This causes the mohair to wrap around the silk core. This makes the boucle. Pretty, isn’t it? (Click to see a bigger picture)

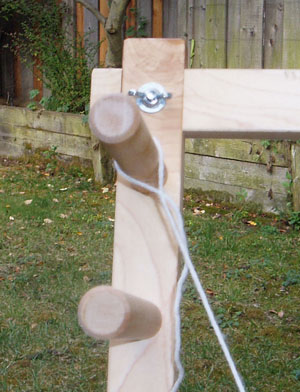
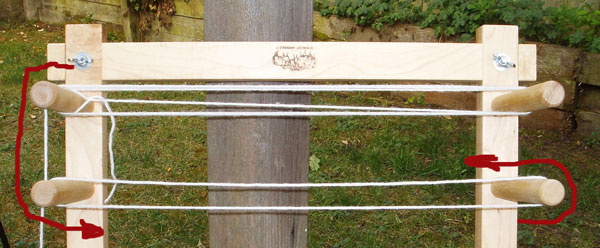
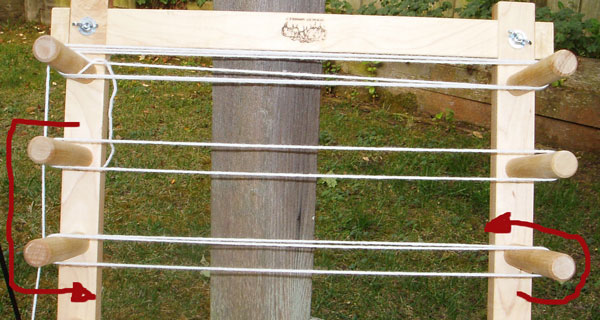
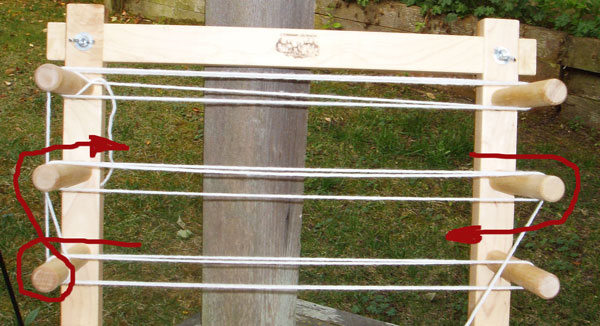
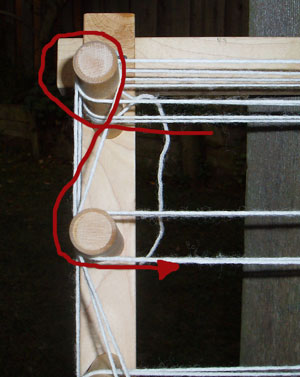
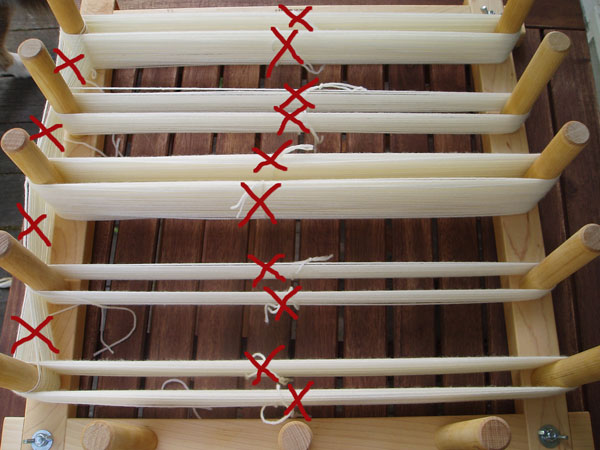
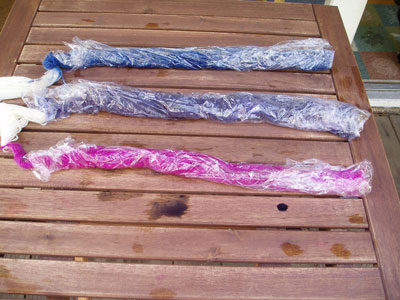
For the weaving part of the workshop, Judith pulled out the warp weighted loom materials. This time, I know better. I know that (a) I don’t want to spend all day making little aquarium gravel packets, and (b) it’s not likely I will have the time to make a long piece. So, I made my warp from 9 lengths of yarn (18 ends).

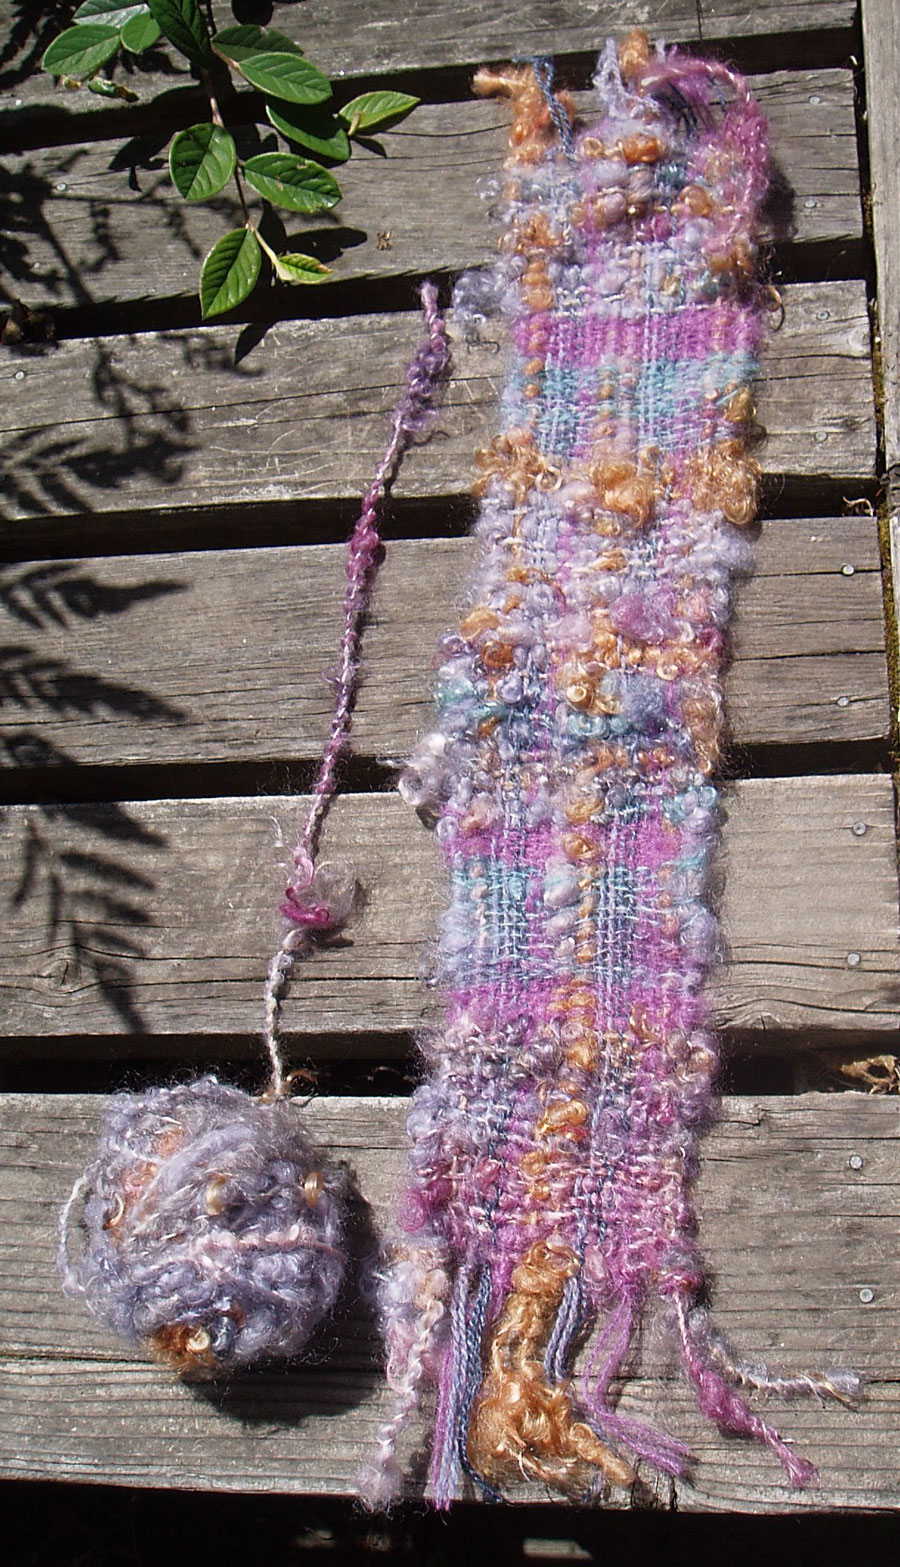
I wanted a little sampler of hand spun and commercial yarns. Because I had visions of nice, lofty, and cuddly mohair blanket for the boat, I used some of my mohair boucle, some commercial brushed mohair, and then some silk/wool yarn spun by Shirley. I tried different textures in the weft.

I love the sampler. Using commercial yarn definitely extends the hand spun and adds textural interest. The resulting fabric is light as air.

CNCH wasn’t just about fiber. It was also a chance to hang out with friends, nosh on lots of food, drink wine, and lots of yakking. I roomed with Shirely, Michelle, Kathy, and Nancy. Unfortunately, we had a gatecrasher.

Bandit 2 Bandit 1

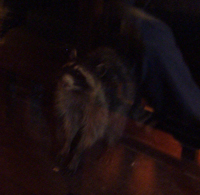
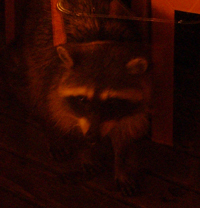
This little critter helped himself to our stash of cheese and fruit that we kept on the porch to keep cold. I caught him when he tried to take off with our wines. (Priorities! Of course, Kathy would have preferred that I saved her cheese.) These pictures were taken when he kept coming back, pounded on the window, trying to get more treats. These pictures are a bit blurry because I had to take them without a flash. Otherwise, you’d just get a pictures of the 5 of us in our jammies and giggling.

Tutorial: Dyeing Self Patterning Sock Yarn

Grace asked for step by step instructions on how I wrapped my yarn on the warping board for dyeing my socks. There are several good tutorials on the net, but here’s my variation.

Sock Warp 1 - start

Step 1: Start with a overhand knot to make a loop. Place the loop on the first peg on the upper left hand side.

Sock Warp 2

Step 2: Wrap it around the top 2 pegs counter clockwise. I chose counter clockwise because I wanted a clean transition to the next peg down. In these socks, I wrapped around the top set of pegs 5 times. This translated into about 7 knitted rows for me (64 sts/round). (Note: The pegs on my warping board are approximately 18″ apart, instead of the recommended 15″, which is why there are a couple of extra rows.)

Sock Warp 3

Step 3: After 5 wraps, move down to the next set of pegs. I chose to have one wrap of white between each color segment.

Sock Warp 4

Step 4: Continue on down to the 3rd set of pegs. For the purposes of this demonstration, I’m only showing you 2 color stripes. For my socks, I made 3 color stripes. That’s the max that this warping board will make, since there are only 5 sets of pegs: 3 color stripes, with 1 stripe of white in between.

Technically, you can have 5 color stripes, if you forgo the plain white stripes.

Sock Warp 5

Step 5: This is where it gets interesting. I had to reverse the direction of my wrap from counter clockwise to clockwise to move to the pegs above. This necessitated a full wrap around the current row’s left peg before moving up one row.

Sock Warp 6

Step 6: Once you reach the top set of pegs, you need to reverse directions again before you head back down. Repeat Steps 1-6 until you run out of yarn.

Sock Warp 7 - tie up

Tie Up: Once you have wound off all of your yarn, you need to tie them up into neat little bundles. The red “X” marks where I tied off.

First, you want to tie loose figure 8 knots along the legs of the loops. You want to keep it loose because you want the dye to penetrate the yarn. If too tight, you will get a light spot where the dye wasn’t able to penetrate. They are only there to keep the loops neat and tidy.
The knots along the edges where you change from peg to peg should be firm knots. This is where the color changes will occur, so you don’t really want the dye to bleed from one area to the other. This is the other reason that I used a white section between the color stripes. I now don’t have to worry about how close to the ties to dye. Lazy of me, I know, but what can I say. It’s perfect for a first time out. Keep it simple.

There’s one thing that bothers me with my wind/tie up. The extra round-the-peg loop that I had to do to reverse direction. This did not make for a nice neat bundle when I took it off the warping board. And for the anal retentives, this will not produce perfectly equal color segments, because of the extra yarn required to make it all the way around the peg. Depending on the size of your pegs, you can be talking about 3″ of extra yarn for each color change. My pegs are about 3/4″ diameter, so we are talking about 2.5 extra inches.

Dipped and Ready to Steam

There you have it. I moved the single wrap bundles (white) to hang off of my dye table, placed the remaining 3 bundles on their own sheets of plastic wrap, painted them with dye (and vinegar!), wrapped up the bundles and zapped it in the microwave. That’s it. Hand dyed self patterning sock yarn!

Powered by WordPress & Theme by Anders Norén