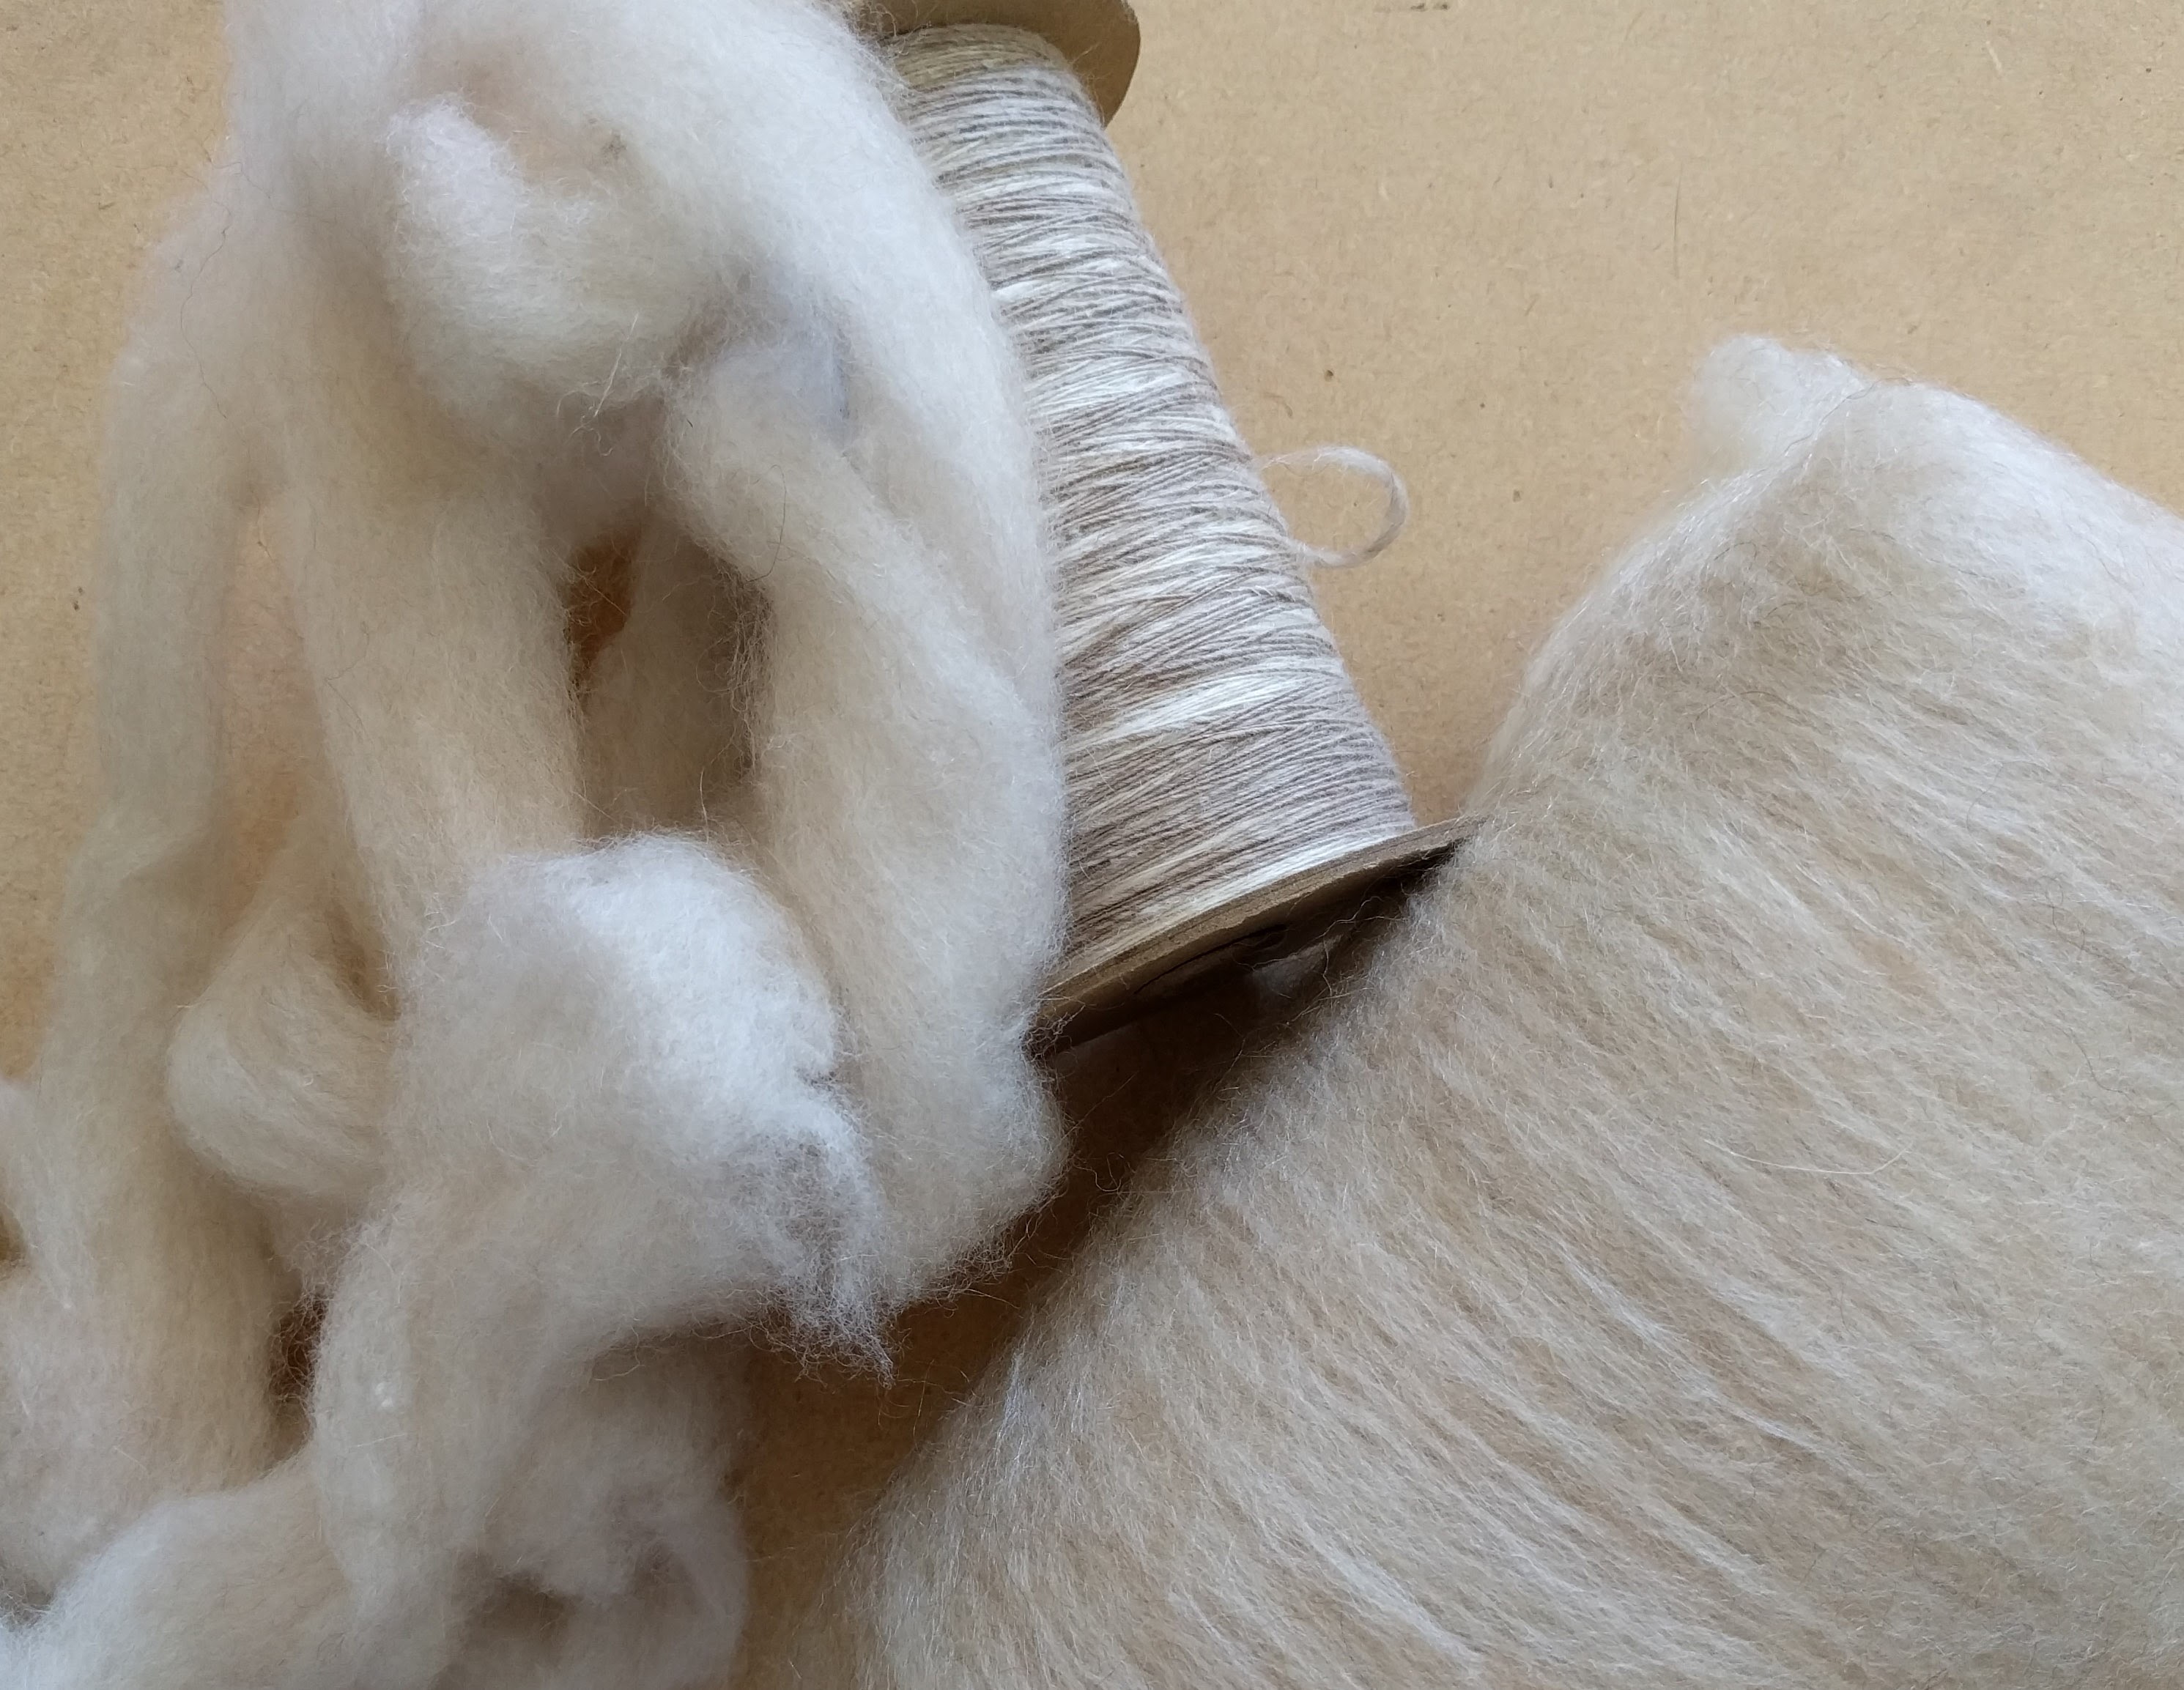
 When Jen sent an email out last month, announcing the last of her luxury fibers, I immediately ordered 8 oz. It is a blend of Falkland Island Polwarth, cashmere, baby alpaca, yak, silk, and I don’t know what else. It is a beautiful oatmeal color.
I’ve spun this blend in the past, but when I looked in my past blog post, I did not find any mention of it. I dug deep into my emails with Jen (you’ve got to love Gmail for this!) and found that I’ve had at least 2 experiences with this fiber blend from Jen. The first one as a free sample. Gee, where have we heard that before? She’s such a pusher. I purchased another 8 oz shortly after.
I spun this batch worsted with a short backwards draw into a fine single. This is very different from my previous method, which was with my lazy long draw. The result of the first batch was a light fingering weight yarn.
Part way through the first 4 oz of this fiber, I decided I wanted a 3 ply yarn for a sweater/sweater vest. Unfortunately, Jen has sold out of this fiber.
So I went diving in my stash. My original thought was to make a blend similar to the luxury blend since I likely had all the components in my stash. It’s just a matter of getting the correct proportions and colors.
Lo and behold! I found 2 Abby Batts, circa 2007 or 2008, in wool (likely merino), silk, camel, yak. It is a near perfect match for Jen’s luxury blend in both content (minus cashmere and a different camelid) and color.
This, my friends, is why you need a stash.
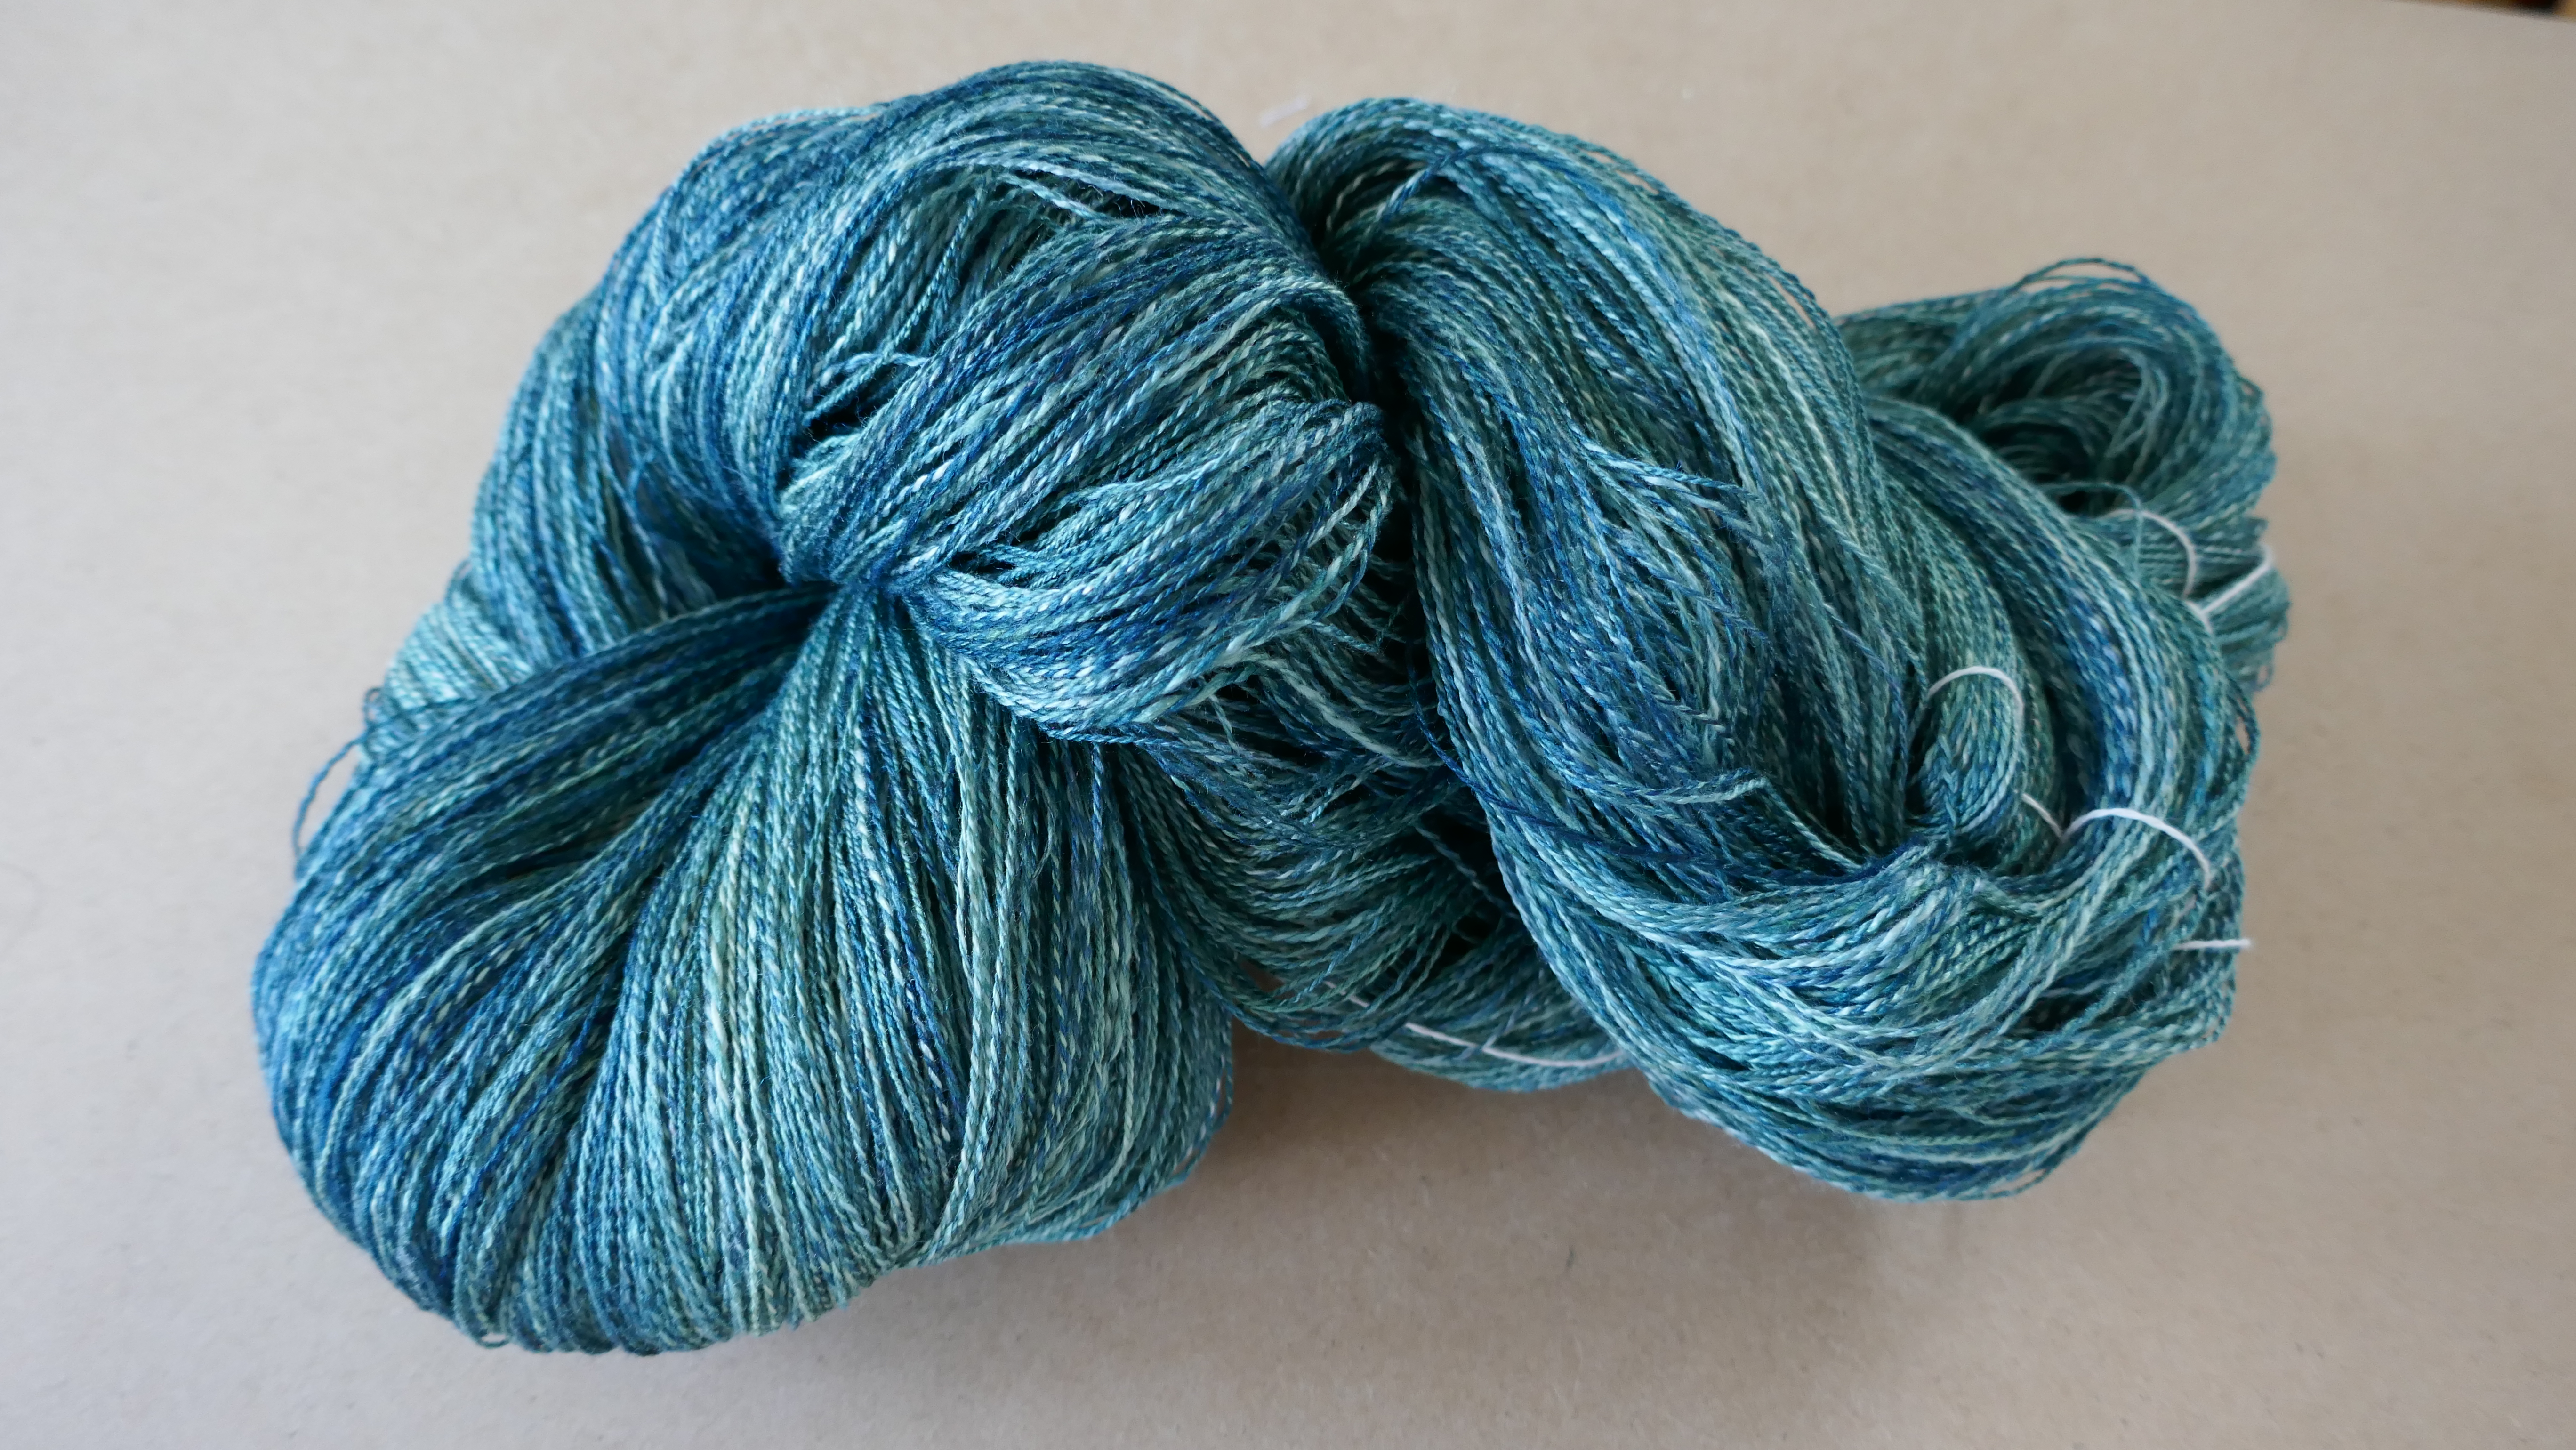
 A note on the Jen’s luxury blend…In the first batch, both ends of the rovings were near the top of the bag. I just started on one end. Unfortunately, it really wasn’t the end that wanted to be on top. I pulled everything out into a box before I started spinning again. Unfortunately, I started on the opposite end this time. You can see the difference in the colors from one end to the other.
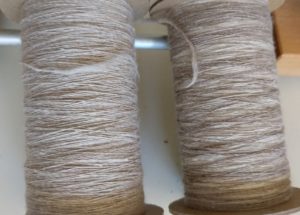
You won’t notice the difference if you spun it continuously, since the color variations changed gradually. The other bobbin didn’t show any sudden shifts in color becuase I spun it continuously from one end to the other.
 Now, onto Abby’s batts. You can see the color difference between the 2 batts. One is definitely darker than the other. In fact, in the darker batt, one edge is almost “white” — even lighter than the lighter batt.
I’ve stripped the batts down into very small strips and spinning with 2 strips (one dark, one light) held together to further blend the colors. Yes, I could have run them back through the drum carder but I didn’t want to risk introducing neps.
Hey, sorry for the long absence. I’ve been super busy. The time it takes for photo editing and writing content sometimes seem daunting. It has been easier to snap a picture and post to Instagram. There are times when a simple photo just doesn’t convey the thought process behind the photo. Like this post. I have to find a balance between the two.