We had a Natural Dye Workshop with Anni Redding in September. It’s taken me this long to blog about it because I was really disappointed with the results. It didn’t quite turn out the way I had hoped.
Anni was great, but there were other issues that came up that resulted in less my vision of what I would end up with. Darned expectations!
Anni showed us some of the colors she was able to create using natural dyes.
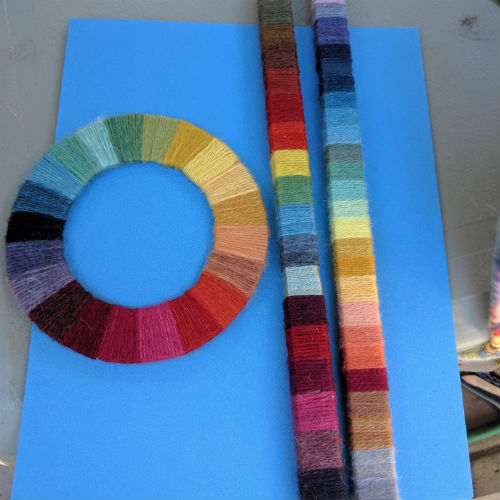
Gorgeous color wheel and color sticks. It was really inspiring to see the range of colors that she was able to get.
Our guild worked extensively with our indigo dye pot and were happy with the range of blues we were able to get out of it. It is a vigorous and very forgiving pot that has been going on for years and years. Phyllis also had a madder patch that we harvest annually and play with.
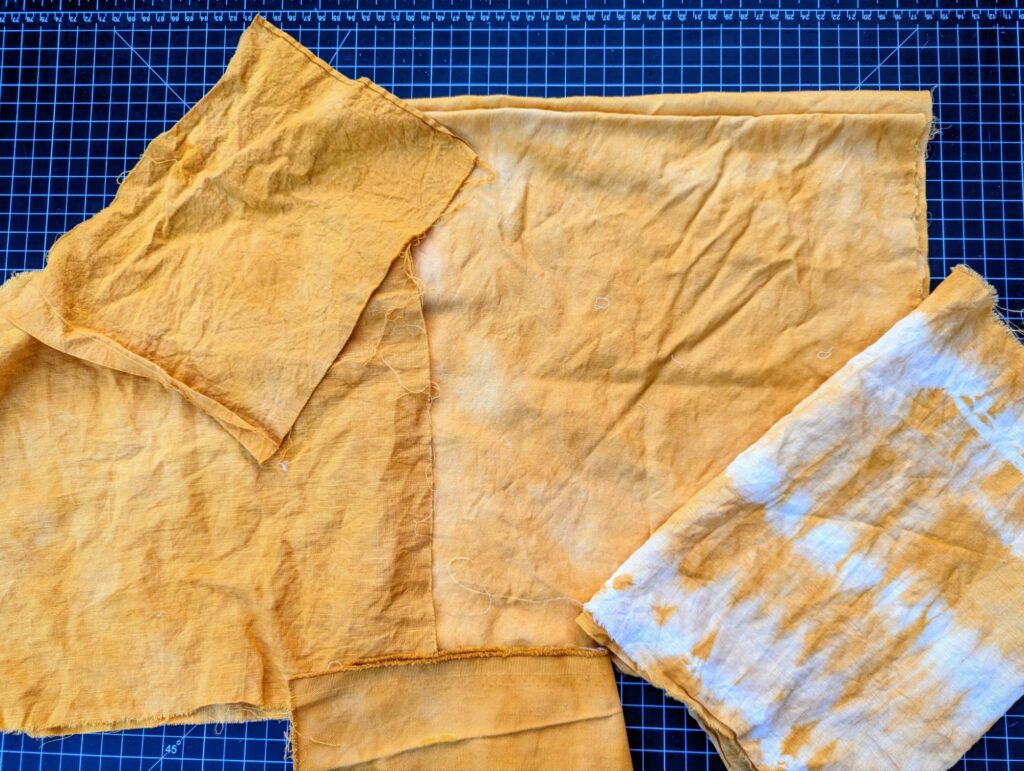
We wanted to focus on a strong yellow and a blue red to round out our color pallette. After talking with Anni, we settled on Osage Orange and Cochineal. We will have 3 dye baths of each color in light, medium, and dark.
We spent August preparing our fiber by simmering them in a 10% solution of alum. (10% by weight of fiber – WOF) We tagged the fiber by the dye bath we wanted them in.

My first disappointment came with the Osage Orange bath. One person in the class went off the reservation and wanted to play with other mordants — specifically tin on some cotton handkerchiefs. When that went into the pot, it immediately dulled the dye bath. Instead of a bright yellow, it greyed out the bath when the tin leached out of the cotton into the dye bath.
Lesson learned. If you use different mordants, use different dye baths for each mordant. This may not be an issue if you are a solo dyer since you will likely only do one mordant at a time. In a class environment, keep it controlled and follow the instructor’s plans exactly. If you want to play, play with the after bath.
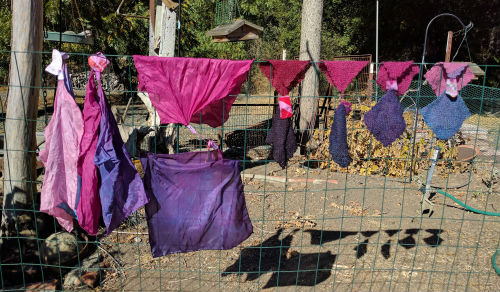
After we finished with the cochineal, Anni showed us Saxon Blue — a different way of using indigo than the way we had been using it. Saxon Blue can be dyed like regular chemical dyes. The indigo is already in a pre-reduced form. You can just add the concentrate into a pot of hot water and it is immediately ready to use.
And here comes my second disappointment. I had squares that I had planned to overdye with our indigo bath at a future date. They were grouped with the primary color groups that I had planned for Osage Orange and Cochineal.
If I had proceeded as I originally planned, I would have washed the samples and retagged them for the indigo pot. Since I didn’t have tags and string during the workshop, I just dipped a square from each bundle into the Saxon Blue baths. I wasn’t careful enough and accidentally splashed color onto other squares.
Nevertheless, I continued. It would just add character to the finished squares.
Now, for the last disappointment. It was the Saxon Blue again. The blue took forever to rinse. I mean forever!
Someone rinsed at the workshop…and rinsed…and rinsed…
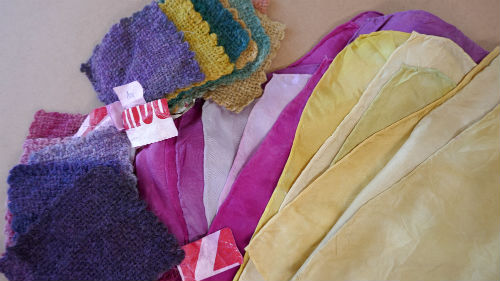
So I decided to let the squares cure for several weeks before washing them. Even 2-3 weeks later, the blue still bled. I washed the squares in about 4-5 lukewarm baths with synthropol. It was still bleeding when I finally gave up. And because the were still bundled together, the blue attached themselves to my gorgeous reds and yellows that were in the same bath.
Again, my fault. I should have taken the time to separate the bundles into specific dye groups to prevent just this type of problem. But I was lazy.
In the post workshop euphoria, I purchased the nasty chemicals and safety equipment to make my on Saxon Blue stock. However, I am now so discouraged, I don’t know when/if I will make up the stock.