There was a discussion at Janine Bajus’ Feral Knitter about Project Journals that got me thinking. I like the idea of using blue books. There are only a few pages so that it’s extremely conducive to tracking a single project. My only problem is, aside from being too lazy to head down to the University Bookstore, that I really like grids, not lines. I like grids because I can use the grids for designing color work or weave structures and scribble and color away. I decided the only thing to do is to make my own mini project journals, a la blue book style, but my way. Here’s how you can make your own too.

Supplies
- 5 sheets of US Legal sized paper (8.5″ x 14″)
- a stapler that you can open up flat
- a fabric+foam mouse pad (remember those things?)
- a printer
- my PDF template for gridded sheets
Instructions
Step 1:
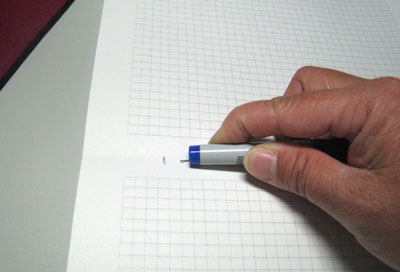
Print 4 sheets of the template onto US Legal paper. The template contains 2 identical pages. This allows you to print both sides at once if your printer handles duplex. If not, just print one side, and re-feed it back into your printer to print the other side per your printer’s instructions.
Step 2:
Take one sheet of plain US Legal paper and stack it on the bottom of the 4 gridded sheets. This is your cover.

Step 3:

Fold the stack in half

And crease
Step 4:
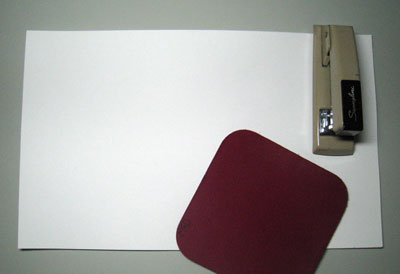
Open with the cover side up and lay it over the mouse pad. Staple across the crease about 1/4 way in from the edge. It may take a bit of practice to find out where to line up your stapler so that it staples right at the crease.

Because you’ve opened up the stapler, the staple only went through the stack of paper, but did not bend to close. This is why you need the foam mouse pad — to receive the staples without bending them. Any piece of foam will do, but I had my mouse pad handy.

Here’s what it looks like on the inside
Step 5:
Now, bend the staples over to close them. You can use your fingers to press down or use a pen or something similar to bend it. It’s a wee bit kinder on your fingers.

Ta da! You now have a finished notebook. Congratulations.

Inside view

Outside spine view
It takes less than 30 minutes to make a handful of these journals. Cost? Minimal if you happen to have some US legal sheets laying about. If you don’t, a ream of 500 sheets costs around $10 and will make 100 journals (4 printed sheets plus cover).

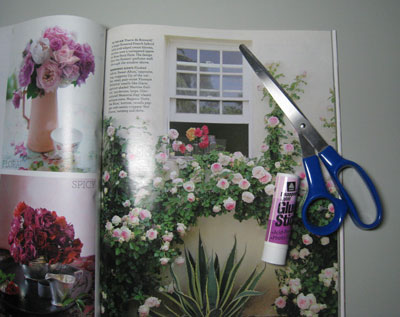
Now, you can go to town with some old magazines, a pair of scissors and a glue stick.


I like to leave myself some white space to write the name of the project on the front. If you like your covers plain, you can glue a picture of your project on the cover or just scribble the subject on the outside.

I punched the class notes one because I put it in the samples binder for the Collapse Weave class. For more discussion on how to use these mini project journals, read Janine Bajus’ post at Feral Knitter.

Janine
Whoo hoo! I had always failed at figuring out how to staple these without purchasing a long-arm stapler! At a recent workshop, one woman had printed out a picture on large photo paper, which she then folded for the cover–it was the perfect weight for a cover and the photo represented the colors of her project. I thought it was a great idea.